
This story begins in 2018 when I first became obsessed with nixie tubes. Before I had any experience or knowledge of embedded systems, I set out to buy a complete and working nixie clock.
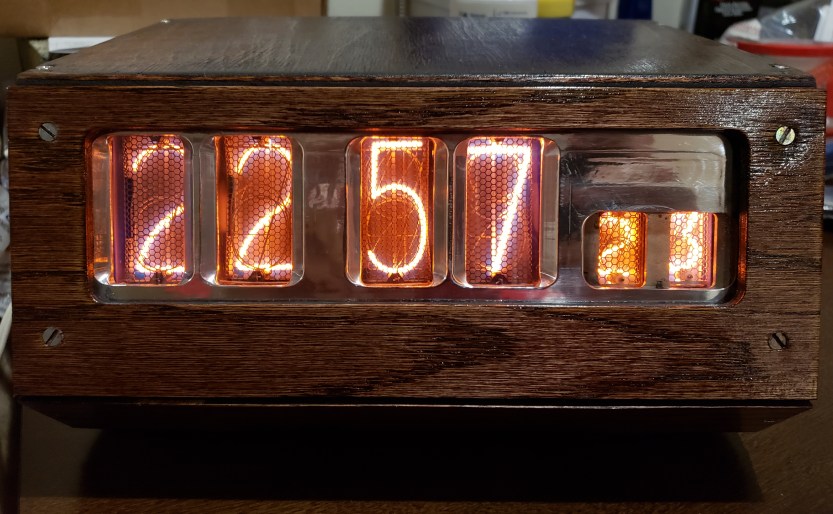
Ebay is usually the marketplace of choice, especially for beginners. While browsing the site, I came across a listing for a handmade clock using IN-18 and IN-8 nixie tubes. This listing stood out to me as it was not just another cheap clock kit, but appeared to be an item that was actually unique.


After waiting for about 3 weeks for the clock to arrive from Ukraine, I plugged into a 110-220 step up transformer and sure enough it worked as described. I did a cosmetic restoration which included refinishing the wood panels as well as laser cutting a new wood bezel and plexiglass insert for the face. All was well and I enjoyed the clock with the original electronics for several months.
As fate would have it, 30 year old soviet electronics are simply not as reliable as one would hope. The clock began to fail as the display glitched and time keeping was no longer possible. I simply unplugged the device and put it aside for about a year and a half as life was very busy.
As the COVID-19 pandemic swept across the globe and I found myself shuttered away at home, I decided to use this time wisely and resuscitate this old clock with the newfound electrical engineering skills I’ve been honing. I began by taking the clock completely apart in an organized manner.


After removing the electronics, the chassis also came apart fairly easily. The first order of business was to plan the new electronics I wanted to stuff in here. I already have a modular nixie CPU design with the versatile ESP32, so I planned to drop in a CPU board I already had fabricated and set aside.


The new board that needed designing would connect the CPU to the high voltage supply, the cathode drivers, and mechanically to the chassis itself. I made some measurements of the metal frame that holds the tubes and designed a board which would bolt into this structure.


Time to fit check and fabricate!


Now the more tedious work – wiring harnesses.


With all the space saved after transitioning to the new electronics, I also shortened the depth of the case to make the clock more compact.


I wanted to use as many original parts as possible. All of the original rear panel switches have been repurposed and are fully functional. The original fuze holder is used as well to retain a 1 amp 5x20mm fuze across the 12 volt barrel jack input.


After mapping the bits for the HV5523 driver ICs to each cathode for all 6 tubes, I wrote up some initial firmware to get the clock up and running.


I couldn’t be happier with the way this project turned out. In my opinion, the original design motif is preserved in full. The new clock resembles the old but now reaps the benefit of modern IOT technology. With the HV5523 display drivers, any display effects are achievable through software. The ESP32 brain keeps the clock connected to WiFi and syncs the onboard DS3232 real-time clock with NTP time while operating many of the peripherals in parallel, including the PIR motion sensor and light sensor (for automatic tube dimming) seen suspended above the case. I plan on using this clock as a test-bed for firmware development of future ESP32 based projects. I’m sure the original creator, the unnamed engineer from the east, would be proud!

Really nice work !!! Especially since you kept the original look intact.
LikeLiked by 1 person
Thank you Jon! This thing definitely
harkens back to 80s eastern Europe.
LikeLike